تنظيمات vpn در Ubuntu
First off, we need to install the required software to utilize the VPN service. You can use the command line or GUI package manager to do this.
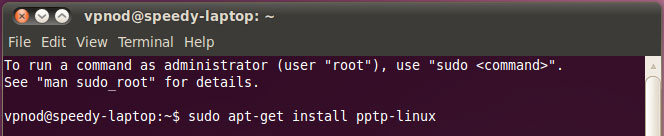
To install from command line, open up the "Terminal" application, found in "Applications -> Accesories".

Then write the command: sudo apt-get install pptp-linux at the prompt.
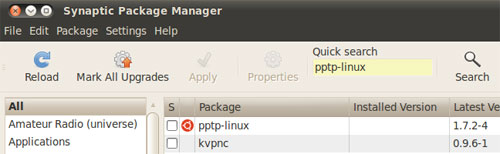
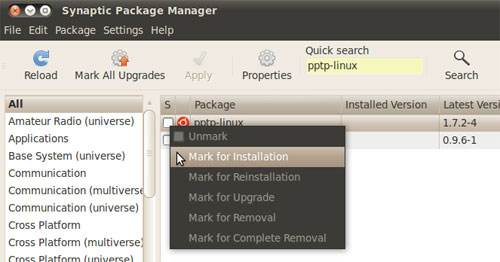
Using the search box at the topK type pptp-linux to search for the package.

Once found, click on the check box beside it, then click Apply to execute the command.
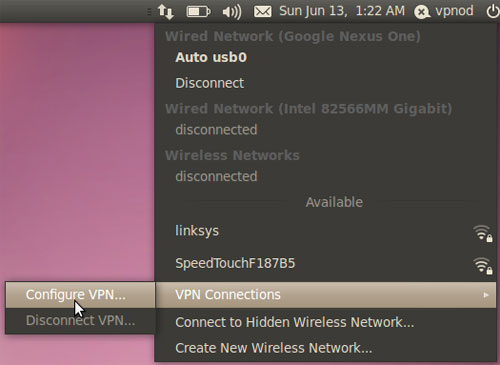
Click on the network icon, at the top right, and choose "VPN Connections -> Configure VPN"
Create a new VPN profile by clicking on the Add button.
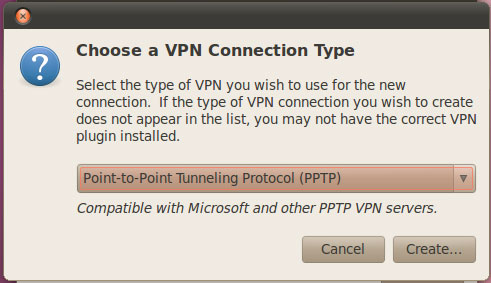
Be sure to choose "Point-to-Point Tunneling Protocol (PPTP)" from the list then click Create.
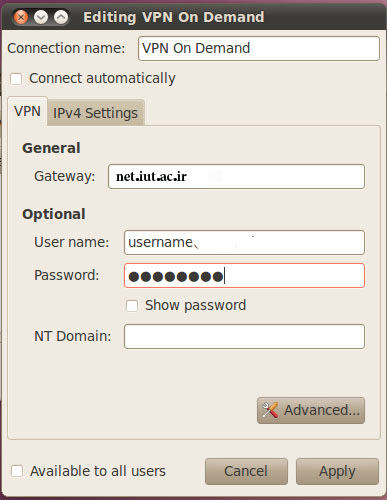
You can choose any name you like, we recommend "VPN On Demand", then fill the information as follows:
Gateway: net.iut.ac.ir
User name: usually the email you used to register with
Password: your own password
then click on Advanced to finish the setup.
In the "PPTP Advanced Options" window, make sure to check "Use Point-to-Point encryption (MPPE)" as shown below, then unclick OK until all windows are closed and you're done.
You'll only need to perform the steps 1 to 6 for first use of VPNOD.com service. Using this service will be easier later on.
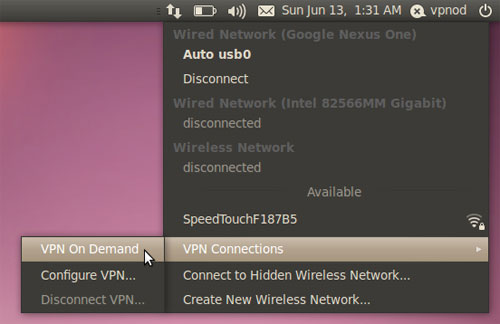
Click on the Network icons from the top bar, as shown in the screen shot and choose "VPN Connections -> VPN On Demand". Ofcourse, VPN On Demand is the name you chose in step 5

- Finally, wait for a few seconds while the connection is established. The next time you need to connect to the service, you'll only need to perform the 7'th step.